1)The installation package can be downloaded from:
2)Run the installation program as an administrator. Right click the installation program, then select "Run as administrator" from the pop-up menu.
Note:Failure to run the installation as an administrator may result in no access to network devices.
Installation Program: decsetup_nnn.exe (where nnn is a version number)
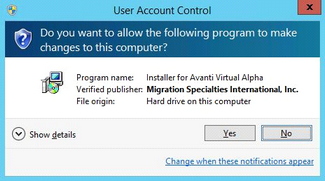
3)Installation Warning: When the installation is started, Windows may display a User Account Control message. Click "Yes" to proceed with the installation.
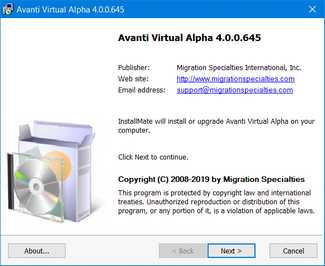
4)Information Window: Next, an informational window will appear. Note the copyright information, then click "Next" to continue.
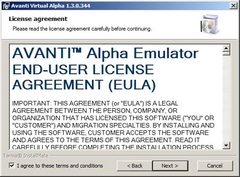
5)License Window: Next, the Avanti license window will be displayed. The eminently fair and reasonable license terms should be read. Check the "I agree to these terms and condition" box and click "Next" to continue the installation. If the license terms are not acceptable, do not install the product.
6)Installation Options: Next to appear is the Installation Options window.
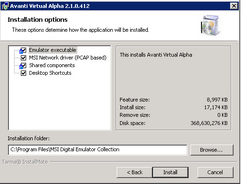
| The window lists the following components: |
Emulator executable: The virtual Alpha program. Emulator installation is required and cannot be unchecked.
MSI Network driver: The PCAP based network driver. Installation of the network driver is optional. If the network driver is not installed, the emulator cannot be configured with a NIC. The network driver is installed by default.
Note:If the Npcap driver is installed on the Windows system, Avanti default to it as its pcap driver.
Desktop Shortcuts: Adds desktop shortcuts for PuTTY and the Avanti Configuration Utility.
Installation folder: Allows a different installation folder to be specified.

Previous Installation Warning: If a previous version of Avanti is installed on the system, a warning box will be displayed. Click "OK" to de-install the previous version of Avanti and install the current version or click "Cancel" to abort the installation process.
As the previous version of Avanti is de-installed, a command window may flash past. This is normal.
Active Instance Abort: If an instance of FreeAXP or Avanti is running, the installation will abort with a Cancel/Retry dialog.
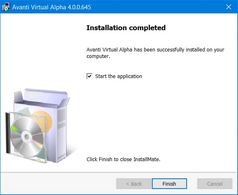
Installation Completed: The Avanti installer will complete the installation. A progress bar and two command windows will briefly display during the installation process. When the installation is finished, a completion window will be displayed. The completion window contains a check box offering to launch the Avanti configuration utility. The default is to launch the utility. The Virtual Alpha Configuration chapter describes the utility in detail. Click "Finish" to exit the installation process.